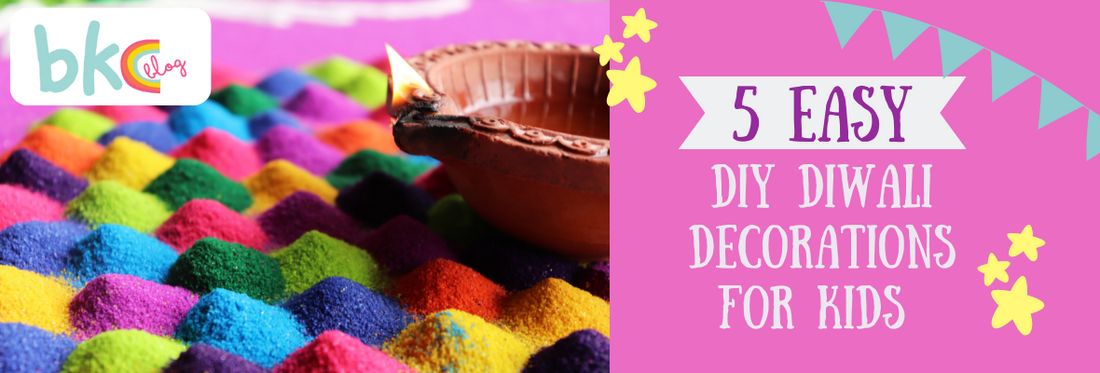
We are excited for Diwali this year. It is the perfect opportunity to spend some quality time with your offspring. We are here to help; we have listed down kid-friendly DIY decoration ideas your child can try.

It is that festive time of the year again. Shopping for thoughtful gifts a few weeks before Diwali, thorough cleaning of the house the week before, and the subsequent decoration: it’s a busy time for everyone celebrating. As a parent, this is also an occasion in which you want your young child to get involved in the activities and thereby become acquainted with their culture. If your child is interested in creative tasks, you can get them to help with decorating your home.
In this article, we have listed five DIY decoration ideas you can make with your young child.
1. Homemade Rangoli Powder
If it’s Diwali, then it has to be time for rangoli. And this is perhaps the perfect Diwali tradition to introduce to a young child – it involves colours and pretty patterns. What’s not to love?!
What you need:
Rice flour (or chalk), Candy Colours, and salt. (Please note: Regular food colouring will not mix with the rice flour.)

How to create it:
-
Start with ¼ cup of rice flour.
-
Add any candy colour of your choice in drops.
-
Continue adding and mixing till you're happy with the brightness of the colour.
-
Add 2 tablespoons of salt to the colour.
-
For the rangoli itself, you could provide your child a steel plate to contain the mess, or you could draw a pattern on a floor with a chalk and have them fill it out. You could also use stencils to create a pattern.
-
Show your child how to take a tiny pinch of the powder between their thumb and index finger, move their hand over the right spot, and then gently squeeze out the colour by moving their thumb up and the index finger down.
-
Don’t forget to decorate the rangoli with well-placed diyas!
Some alternatives for your child:
-
With these specially formulated Gel Crayons your child could turn surfaces like windows and mirrors into works of art, without damaging them.
-
If your child finds it too difficult to handle powder, you could provide flower petals (such as rose and marigold) for your child to make colourful rangolis.
-
For colourful rangolis on paper, your child would enjoy these Watercolour Gel Crayons, as they are easy to use and simply need a dash of water with a paintbrush to reproduce a watercolour effect.
2. Light Up Bottles
The best thing about any glass bottle is that there are abundant ways to upcycle it. We love it for our Diwali decor. And it’s just an easy way to get your kids involved in the decorating activities in the house.

What you need:
Empty wine bottle or mason jar, bottle cork lights or a set of string lights (you can find both on Amazon), glue, cute decorations (it can be floral embellishments like these, buttons or beads), window gel crayons, and glitter glue.
How to create it:
-
Clean the bottle thoroughly and dry it. Make sure it doesn’t have any cracks, for your child’s safety.
-
Ask your child to carefully draw on the bottle with the window gel crayons and give it a shiny, shimmery touch with the glitter glue.
-
Then stick floral embellishments, buttons, or beads with glue.
-
Once your child is done decorating, place the cork light in the bottle. If you are using a mason jar, carefully put the string lights in it and connect to a plug. If your child is too young, ensure a responsible adult is doing this.
-
Place the bottle where you feel it looks best. Oh, don’t forget to switch the lights on!
3. Ethnic Table Runner
It’s not only about lights. An ethnic table runner on the coffee table not only accentuates the interior of your living room but also adds to the festive spirit. Creating a table runner is not as complicated as it may seem; it’s another DIY project for your kids.

What you need:
12 inches of any fabric with zari work (you can also cut fabric from one of your old sarees), 12 inches of light cotton fabric for the back of the runner, a roll of iron-on hemming tape, iron box, a pair of scissors, a pencil, and a ruler.
How to create it:
-
Iron the wrinkles on the fabrics.
-
Prepare the fabric by cutting the needed length. With a ruler, mark half an inch of seam on all edges. If you have a rectangular table in mind, remember that the drop ends of the runner shouldn’t exceed 6 inches from both the ends of the table. This should also be accounted for.
-
Get your child to line both fabrics together lengthwise. This is so that the threads from the embroidery on the thicker fabric don’t get loose.
-
Ask your child to place the hemming tape on the edges along the seams.
-
Then direct your child to fold the fabric in such a way that the hemming tape is sandwiched between the fabric on the seams.
-
Put your iron box to the highest temperature while simultaneously making sure the fabric doesn’t burn.
-
Iron the folded fabric until the tape fuses together.
-
When all the edges have been ironed, your runner is ready to be used.
Some alternatives for your child:
-
You could also get your child to design the fabric of the table runners. These glitter fabric paint and fabric crayons bring out the best patterns on thick fabrics.
4. Hand-painted Diya
Can’t have diwali without diyas, can we? A simple way to teach your child about the festival of lights is by having them hand paint clay diyas. It will be a joyful moment for them when they see their handiwork light up the house!
What you need:
Plain clay diyas, acrylic paints, paintbrushes (medium filbert for broad strokes and a fine round one for details), glitter paints, and dimensional craft paint (optional).

How to create it:
-
Select a pearlescent shade from the Glitter & Pearlescent Acrylic Craft Paints and the medium filbert from the Lil' Paint Brushes set.
-
Paint one diya with your selected colour. Wait for it to dry and then add another layer for the colour to appear bright and intense.
-
Draw simple patterns like wavy lines using bright and glittery colours from the Scribbles Iridescent 3D Paint set and the fine round brush from the Lil' Paint Brushes set.
-
Use Dot-A-Lot Dimensional Craft Paint to create eye-catching mandala patterns.
5. Paper Toran
Instead of buying a toran (decorative door hangings with leaves and flowers), we encourage you to help your child make one out of paper. Your little one would definitely need a generous helping hand from you but the outcome would be tremendously rewarding so we highly recommend it!
What you need:
Craft paper sheets in two colours: green and orange or yellow, a piece of cardboard, a pair of scissors, a ruler to measure, glue, a chopstick, and a brightly coloured ribbon 3 cms in width.
How to create it:
-
Measure a circle of 4.5 cm radius from the yellow craft paper.
-
Start cutting the circle from outwards to inwards in concentric circles.
-
Once it’s cut, start rolling it from the outermost circle till you reach the centre. (You can use the chopstick to help you make a tight roll for the first few turns.) It should look like a flower when you’re done. Stick the outer flap to the edge as shown in the video.
-
Measure a 15X15 cm square from the green craft paper.
-
Start folding it in thin strips from the base. Fold one way, then turn over and fold on the other side till you reach the tip. It should look like an accordion.
-
When you are done, then glue the two ends of the base. The resulting shape should look like a leaf.
-
Your child may enjoy decorating the leaves (along their final fold) and flowers with Rainbow Sparkle Glitter Glue.
-
Repeat this process to create about 8 leaves and 15 flowers.
-
Then stick the leaves and flowers on the ribbon as shown, or mix and match to your liking.
DIY ideas are endless. So are opportunities to make happy memories with your child. The key is to seize them at the right time. And that’s what festivals are all about!


