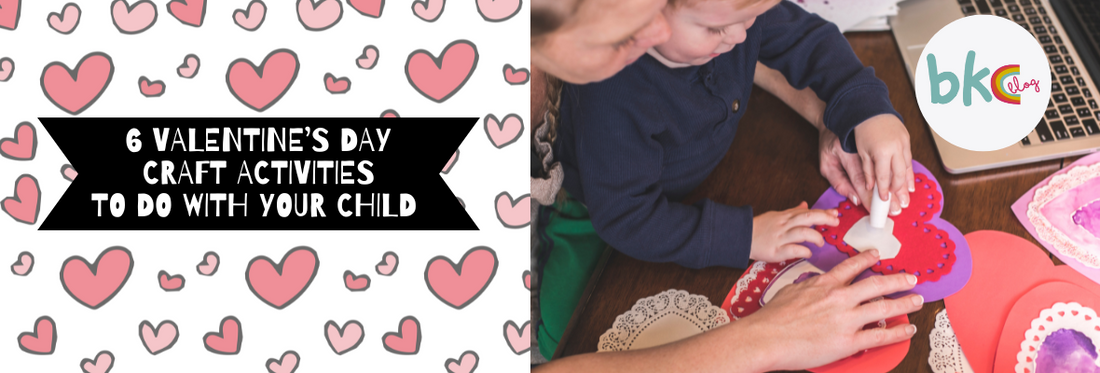
This Valentine’s Day, bond with your child and create memories (and some souvenirs) that will last a lifetime! These crafts are fun for everyone, and will help your child develop different skills – fine and gross motor skills, creativity, and so much more! So what are you waiting for? Grab those art supplies and get your craft table ready for a love-filled celebration.

Valentine’s Day is a special time to celebrate the love we have for our families and friends. Crafting activities are a fun way to bond and make memories with your little ones. From simple paper crafts to more complex projects, there are plenty of Valentine’s Day craft activities that you can do with your child. With these fun and easy activities, you can show your child how much they mean to you, while also enjoying some quality bonding time together.
Read on for some fun ideas that will make this Valentine’s Day extra special!
Disclaimer: Adult supervision is advised for all the activities mentioned.
1. Floating Hearts
If you are looking to get your child intrigued about science with a little bit of a Valentine’s theme, here is an easy science experiment for you. While it uses only a few things, you can make a show out of it. We are sure your child will be awestruck!
Suitable for ages 3+
What you need: 1 dry erase marker (white board marker), water at room temperature, a glass or ceramic plate, and straw (optional).
What to do:
-
Place the plate on a plain surface.
-
Draw hearts on the plate with the dry erase marker. You can use as many colours as you want for this.
-
Pour water slowly and carefully on the plate and wait for the hearts to start floating.
-
Gently blow into a straw to move the hearts around.
-
For additional fun, you could ask your child to carefully place their hand over a floating heart. The heart transfers to their hand like a tattoo.
The science behind it: The ink in the markers contains oil and is insoluble in water. When water makes contact with the ink, the oil in it repels. Because oil is less dense than water, the ink floats to the top.
2. Blooming Hearts
When your preschooler comes home gushing about their classmate whom they have a crush on, you can either take the high road (of letting them be) or the cheesy road (of explaining how hearts ‘bloom’ when they are in love). We like the latter. Make sure you don’t trivialise your child’s feelings.
Suitable for ages 3+
What you need: Sheets of craft paper or construction paper, a pair of child-friendly scissors, water, and a shallow pan.
What to do:
-
Draw hearts on the paper.
-
Let your little one carefully cut out all the hearts using the scissors. Make sure you have a bunch of hearts.
-
Fold the hearts in such a way that the pointy end touches the valley tip of the heart. Next, fold the left and right wings over the pointy end.
-
Pour water into the shallow pan.
-
Carefully drop the folded hearts into the pan. Make sure the folds are facing upwards when dropping.
-
Watch as the hearts appear to ‘bloom’ in the water!
The science behind it: When the paper absorbs water, the fibres in it expand causing the folds to flatten out.
3. Button Valentine
Create your child’s magnum opus today. Let your little one be the artist for the newest decor item in your home. The idea is not to have perfect-looking artwork, but a product of familial bond. Make sure you add the artist’s signature before it goes on the wall or the mantelpiece.
Suitable for ages 6+
What you need: Pink or red scrapbook or craft paper (12x12cm), a pair of child-friendly scissors, glue, buttons of different colours and sizes, and glitter glue (optional).
What to do:
-
Draw a big heart on the craft paper and cut it out with a pair of scissors.
-
Apply glue evenly across the red heart. You could also apply glue in swirl patterns or whichever way you like.
-
Ask your little one to stick the buttons where you have applied the glue. It doesn’t matter if it’s not perfect.
-
Once they are done sticking, ask them to decorate the buttons with glitter glue.
-
You can paste it on a cardboard heart, or even frame it and place it somewhere in your house.
4. Heart Pops
Racking your brains for a wind-down activity to calm your child before their afternoon nap? This easy craft project is perfect for you and your child. And the best part? It’s mess-free.
Suitable for ages 3+
What you need: 12 popsicle sticks, a pair of scissors, glue, and a sheet of red chart paper or thick craft paper.
What to do:
-
Draw 24 medium-sized hearts on the red chart paper. Make sure the hearts are all in the same size.
-
Cut them out carefully with a pair of scissors.
-
Stick two hearts each on one end of the wooden craft stick. When you’re done, you’ll have 12 heart pops.
-
You can place them in a vase, stick them on your child’s bedroom walls, or use them to decorate the house.
5. Valentine’s Day Bubble Foam
Here is a themed multi-dimensional sensory experience for your child. This activity improves your child’s gross and fine motor skills, hand-eye coordination, visual perception, cognitive development, and imagination.
Suitable for ages 2+
What you need: A large bowl or sensory play tray, stand mixer or handheld blender, water, dish soap or bubble bath soap, red food colouring, rose petals, pom-poms, spoons, ladle, silicone cups, small plastic bowls, and rose water (optional).
What to do:
-
In the large bowl, add 4 teaspoons of soap to ¼th cup of water. If you need more, make sure you use 2 measures of water to 1 measure of soap.
-
Use a stand mixer/hand blender to whip up thick, foamy water with lots of bubbles. You can even use a regular whisk for this. An adult should be doing this.
-
Add the rose petals and pom-poms into the frothy mix.
-
You could also add a few drops of rose water to add a new dimension to this sensory experience.
-
Put the different kitchen items in the foam.
-
Let your little one enjoy the foam.
6. Perler Greeting Card
This activity features one of our favourite things in the world: Perler beads. The creative possibilities with the fusible beads are endless.
Suitable for ages 6+
What you need: Cardstock paper, Perler beads, a square or circular peg board, ironing box, a pair of tweezers, tape, black marker, glue, a pair of scissors, markers, and embellishments (optional).
What to do:
-
Place the peg board on a plain surface.
-
Using the tweezers, ask your child to place the beads in the pattern of a heart (refer to the above video) on the peg board.
-
Once the beads are in place, gently stick a piece of tape on the beads. Follow with another piece of tape until the pattern is covered.
-
Carefully, lift the tape from the peg board. This is to prevent the plastic board from melting when the beads are being ironed.
-
Place the ironing paper that came with the peg board over the bead pattern.
-
Iron the beads. Make sure the ironing paper is in place during the ironing process. As it can get really hot, an adult should be doing this.
-
Let the fused beads cool down. Flip the pattern over.
-
Now, we need to make the greeting card. Stick the bead pattern on the cardstock paper.
-
Encourage your child to make the wordings and decorations using the markers and embellishments. Help your child with the scissors when required.
We hope you enjoyed our list of Valentine's Day craft ideas for kids! We would love to see the creative ways that you use these simple, yet effective projects!
These crafts can be made by both kids and adults and are easy to do, even for those who don't have much prior experience with crafts. They also make great gifts for friends and family members, so go on and share the love!


